
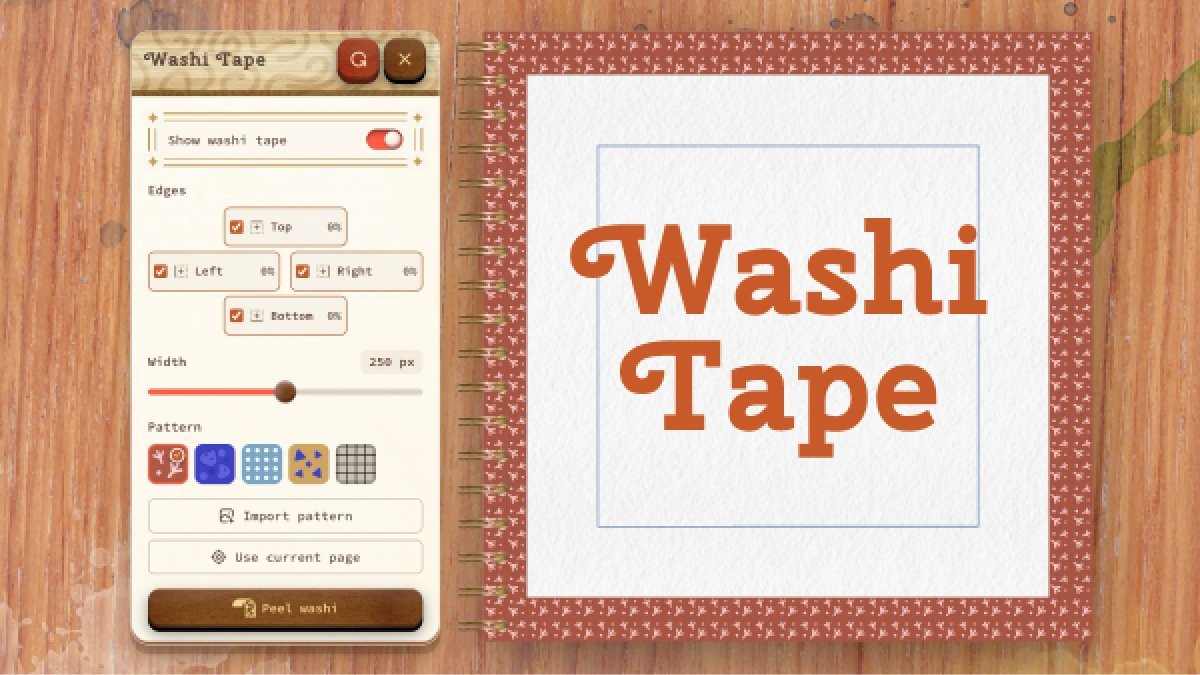
How to design a washi tape pattern

The washi-tape feature is one of our most popular tools, and I want to show you how easy it is to design your own patterns for use in RobinPad.
The Specs
Are very simple: just a 1:1 aspect ratio image (a perfect square) with a minimum resolution of 500x500px.

Once you add an image to the washi-tape panel, it will be processed and compressed to an optimal size to ensure smooth performance. The image will be converted to a .webp file, a lightweight format designed for the best user experience.
Design within RobinPad
The simplest way is to design your washi tape directly in RobinPad. Paint your pattern on a 1:1 page

Open the washi-tape panel, and select 'Use the current page'.


Your design will be added to the available patterns and ready for instant use.

Use other tools
You can also use other design software to create your custom patterns. I recommend Affinity or Figma because are free (you can use Figma with free plan and it's totally usable for creating designs).

Simply create a new square document of at least 500x500px and create your design there. Then, export it in an image format (.webp.jpg, or .png) and import it into RobinPad via the washi-tape panel.
And that's it!
I've put a lot of effort into creating the simplest way for everyone to design, use, and share washi tape patterns. With the RobinPad theme editor, you can create custom pattern packs, add multiple designs, and export them as a single pack. You can then share them, import them back into RobinPad, or even sell them. The content belongs to you, so you can do whatever you want with it!